Showing posts with label Dev. Show all posts

Tuesday, June 23, 2015

HowTo: Set up Win 10 as a Unix-like Dev Workstation

I recently installed a brand new Win 10 preview and set up my Unix-like dev environment on it.

This post basically ties together some of the other posts I've made in the past.  I'll keep this updated as I add steps when I install stuff again in the future.

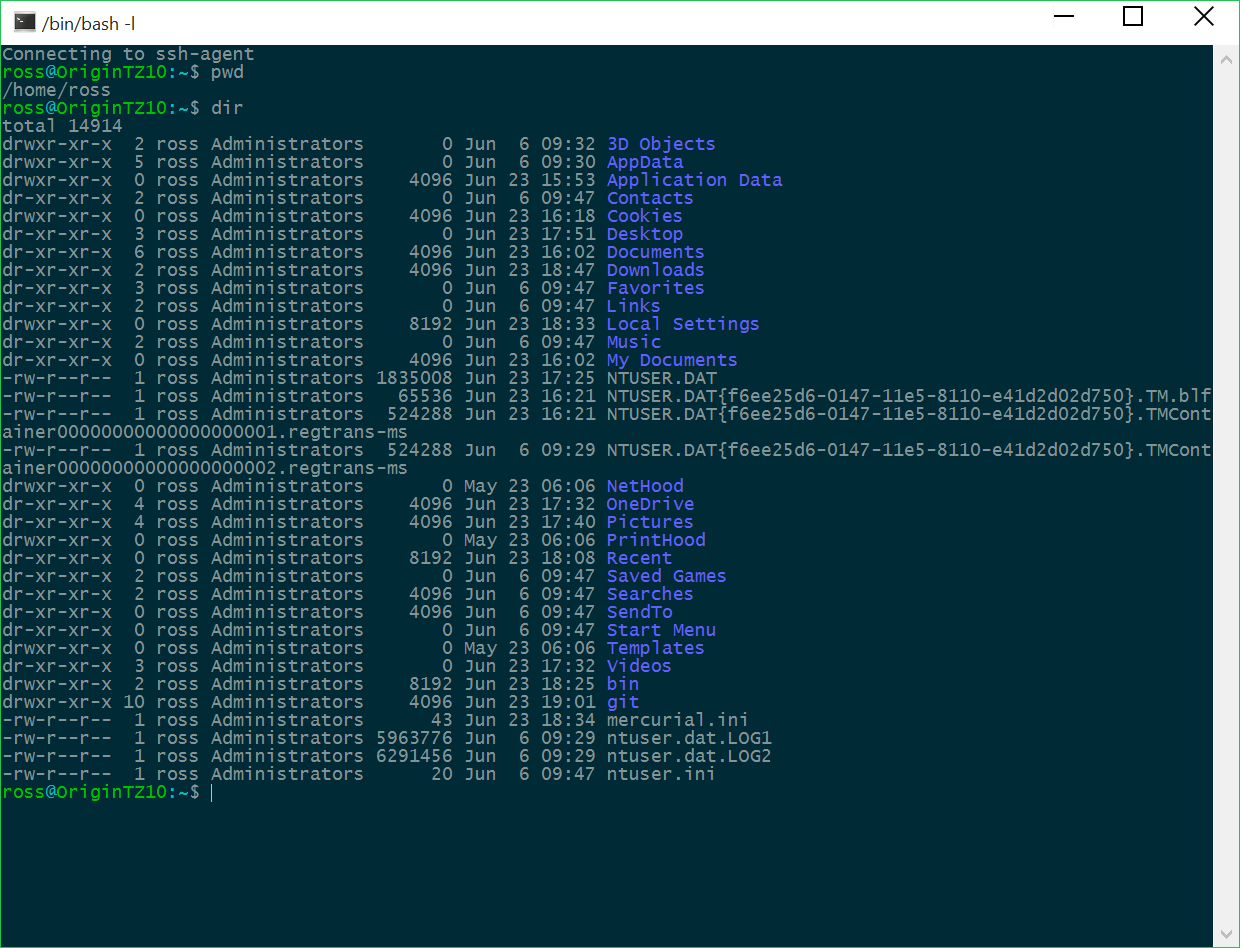
When you're done with this, you'll have a MinTTY window (like xterm) that looks and acts cool.  Here is mine:


Setup Procedure:

  1. Install MinGW-W64+MSYS
  2. Reboot (May or may not be needed; I couldn't get MsysGit to install without rebooting, but I have Win 10 Preview which is probably buggy).
  3. Install PuTTY/Pageant on Win 10
    1. Configure MinGW-W64+MSYS to use PuTTY Plink/Pageant
  4. Install MsysGit for source control
  5. Install SourceTree
  6. DISABLE anti-virus from running in your source code directories, otherwise when you change branches, it's slower than molasses as your AV is scanning every one of your 1000s of "changed" files every time you switch.
    1. My AV has a way to add directory exceptions, if yours doesn't, you should upgrade
  7. Set up home directory dotfiles
    1. See this Github repo which contains my files.  I recommend you copy these to your homedir and then make whatever changes you want.

Make Git play nicely with Unix/Mac


We MUST ensure that Git does NOT try to auto-convert line endings.

Auto-fuck-up-line-endings has all kinds of horrible side effects, and it is totally unnecessary as long as you use modern text editors that don't care what the line endings of a file are.  (JetBrains has awesome IDEs, pay for a good one and call it a day).

In a MinTTY window run these commands:

git config --global core.autocrlf false
git config --global core.ignorecase false

The second command, core.ignorecase = false, means that if we rename a file from "foo" to "FOO", we will commit that name change to Git.  Usually Windows ignores that since its file system is case-insensitive, but that is the exception rather than the rule, as far as OSes go.

PHP Development Setup


  1. Install PHP
    1. Install PHP YAML extension
  2. Install PhpStorm
    1. I installed it to D:\Apps\PhpStorm
    2. Customize PhpStorm default settings

Python Development Setup


  1. Install Python 2.7.x
    1. Install to C:\dev\python
    2. MANUALLY add to SYSTEM path, if the Installer didn't do it:
      1. C:\dev\python
      2. C:\dev\python\Scripts
    3. Install PyYAML
    4. Install Jinja2
    5. Install setuptools
  2. [optional] Install PyCharm GUI
    1. I installed it to D:\Apps\PyCharm

Google Cloud Setup


  1. Install Google Cloud SDK via Windows Installer
    1. Install to C:\dev\gcloud
    2. Start the SDK shell
      1. Run: gcloud auth login

Edits


12-May-2016 - Install PuTTY before msysGit

10-May-2016 - Updated Python install instructions.

06-May-2016 - Added post specific to SourceTree.  Added pertinent homedir dotfiles to a public Github repo so you can copy them.

Monday, May 11, 2015

Installing MinGW-W64 + MSYS on Win 10 x64 (or Win 8.1 or Win 7)

(This is a repost of something I did last year, I accidentally deleted it from Blogger).

Update:  I installed this on Windows 10, and updated the procedure based on experience since the original post.

I'm a Unix/Mac guy.  I use Windows for gaming but I've never really developed on it before, because why.

When I did transition to windows relatively recently for development, I used cygwin, which worked pretty well and was Unix-like enough for me to be OK with it.  However I can't make Windows apps in cygwin, and now needing to do some prototyping for cross-platform Windows tools, I need MSYS instead of Cygwin.

After a few attempts at doing this, reading various blogs that all say to do it different ways, and not really knowing which pre-compiled code I can trust versus not trust, here is a methodology I'm happy with and generally feel is relatively safe to install.

After following this procedure:

  • MinGW (64-bit) will be installed to C:\MinGW-W64
  • MSYS (32-bit) will be installed to C:\msys

    • MSYS will use your Windows Home directory as its own.

  • You'll have a "MinTTY" shortcut to start a mintty terminal running a bash shell
  • (Windows will now feel very similar to Mac/Linux)

Download/install MinGW-W64

Go to http://sourceforge.net/projects/mingw-w64/

Download the latest installer and run it.  Choose these options:

Version: (choose the highest)
Architecture: x86_64
Threads: win32
Exceptions: seh
Build revision: (choose the highest)

Install path: C:\MinGW-W64

Note here we're using win32 threads, NOT posix threads.  On Windows, win32 threads apparently run much faster than posix.  This means that when you compile things from MinGW you must ensure that you choose the win32 thread options or you'll likely have problems compiling.

NOTE: If it fails to install (sometimes it cannot download the toolchain) then that's fine, just ignore it for now and move on to below, updating the toolchain.

Download/install MSYS

Go to http://sourceforge.net/projects/mingwbuilds/files/external-binary-packages

Download the latest revision.

Unzip to C:\

This creates the location C:\msys

Create a directory for mingw

Using Windows Explorer, navigate to C:\msys and create a new folder named mingw.

The full path of the new folder you created will be C:\msys\mingw

Don't put anything in this folder.  Leave it intentionally empty.

Mount /mingw for MSYS

Edit C:\msys\etc\fstab

It should contain (at the very least) these lines:

#Win32_Path           Mount_Point
C:/MinGW-W64/mingw64  /mingw


I also recommend that you mount your Windows homedir to /home/yourname, so that your total fstab will look like this:

#Win32_Path           Mount_Point
C:/MinGW-W64/mingw64  /mingw
C:/Users              /home

Make sure there is an empty line at the end of the file.

* If you opened any msys consoles, close them now and reopen them.

Download/install YASM


Download the latest "Win64.exe" file, for example something like http://www.tortall.net/projects/yasm/releases/yasm-1.3.0-win64.exe

Move the downloaded yasm-1.3.0-win64.exe to C:\msys\bin\yasm.exe

Configure a decent Terminal

You now have a standard Windows cmd terminal (aka Shit).  To get a nice Unix-like terminal we'll install Git for Windows which has a nice MinTTY terminal that acts similar to xterm.

Continue on in HowTo: Set up Win 10 as a Unix-like Dev Workstation until you get PuTTY/Pageant set up and Git.

Once you have Git installed you will have Git Bash, which uses MinTTY, and is a pretty nice terminal that works well with msys.

What next?

Now you have a bare-bones terminal.

You need to set up your %HOMEPATH%\.bashrc and related dotfiles to really start customizing it to look and feel the way you want.

Check out my Github home dir to see an example of how I set mine up.

References

qt-project.org has nice info about MinGW and MinGW-W64, including info RE threading and exception models, pros/cons of each, etc.

EDITS

14.Aug.16 - Removed instructions for installing old school mintty; I now suggest using Git for Windows since their mintty is much newer/nicer.

27.Jul.16 - Fixed /etc/fstab mount point.  Added empty C:\msys\mingw folder so that /mingw is visible to filesystem search utilities.

06.May.16 - Updated based on new MinGW-W64 version. No longer need to manually create MSYS shortcut.

23.Jun.15 - Removed Win 8.1 specific stuff.  Updated instructions per new MinGW-W64 v5.1.0.  Confirmed that updating the toolchain is not necessary, at least for v5.1.0 and removed that part of the instructions. Moved msys to C:\msys

11.May-15 - Updated for Windows 10. Added Windows home directory mount. Moved MSYS directory inside MinGW-W64 as we no longer need easy access to it with the Windows home diretory mounted.

17.Sep.14 - Added some clarifications. Added mingw64 toolchain update.  Added references.

Saturday, November 8, 2014

Install PHP 5.6 on Win 8.1 x64

Install PHP 5.6 on Win 8.1 x64


Following the instructions here http://windows.php.net/download/

I downloaded the VC11 x86 Thread Safe (32-bit), even though I'm on 64-bit Win 8.1

The 64-bit is experimental and oh well, I don't need PHP to do super crazy number crunching anyway.

Installation instructions

  • Create dir C:\dev\php
  • Extract the zip contents into that directory
  • Add C:\dev\php to the system environment path
  • copy C:\dev\php\php.ini-development to C:\dev\php\php.ini

Set Time Zone

  • edit C:\dev\php\php.ini
  • Add this line:
    date.timezone = America/Los_Angeles

Change the time zone to match whatever yours is.  This example works for PST in the US.  To see all supported time zones go to http://php.net/manual/en/timezones.php

Get SSL working:

  • edit C:\dev\php\php.ini
  • Uncomment this line:
    ;extension=php_openssl.dll
  • And change the line to read this:
    extension=C:\dev\php\ext\php_openssl.dll

Enable CURL:

  • edit C:\dev\php\php.ini
  • Uncomment this line:
    ;extension=php_curl.dll
  • And change the line to read this:
    extension=C:\dev\php\ext\php_curl.dll

Enable XSL (for PHPDoc):

  • edit C:\dev\php\php.ini
  • Uncomment this line:
    ;extension=php_xsl.dll
  • And change the line to read this:
    extension=C:\dev\php\ext\php_xsl.dll

Install XDebug:

  • Download from here:
    http://xdebug.org/download.php
    • Make sure you pick the one that matches the version of PHP you installed.
    • For example I got "PHP 5.6 VC11 TS (32 bit)"
  • Windows will tell you this type of file is not safe.  Duh.  Save it anyway
    • Save it to C:\dev\php\ext
  • edit C:\dev\php\php.ini
    • THIS IS NOT AN ORDINARY EXTENSION
    • Add it by adding this line at the bottom:
      zend_extension="C:\dev\php\ext\php_xdebug-2.2.5-5.6-vc11.dll"
    • Of course make sure the filename matches the one you downloaded.

Install Composer


Download Composer, it should work fine now:

Thanks to:

http://php.net/manual/en/openssl.installation.php Alan 3 years ago added some great tips on how to do this very thing.

Wednesday, September 17, 2014

Configure MinGW-W64+MSYS to use PuTTY Plink/Pageant

Configure MinGW-W64+MSYS to use PuTTY Plink/Pageant

I forgot to document this last time so I figured I'd post to save anybody the trouble of figuring out how to do it again.

Install Putty/Pageant/Plink


For purposes of this document we assume you installed Pageant into:

C:\tools\PuTTY\pageant.exe

Load SSH keys into Pageant


Start Pageant and load in your SSH keys.  (Quick explanation here).

Configure Windows System Environment Variables


Windows key => "Environ" => Edit the system environment variables => [Environment Variables...]

Look in System variables, modify these if they exist, otherwise add them:

GIT_SSH = "C:\tools\PuTTY\plink.exe"
SVN_SSH = "C:\tools\PuTTY\plink.exe"

Click [OK]

Open new MinTTY (or other MSYS terminal)


Close any MSYS terminal or MinTTY that you have open, and open a new one.

Confirm that everything should be working:

bash$ env | grep -i ssh
GIT_SSH=C:\tools\PuTTY\plink.exe
SVN_SSH=C:\tools\PuTTY\plink.exe

Use PuTTY to connect to the host you want to access


For each new host you must use PuTTY to connect.  This is especially important when you are using git or svn or something that doesn't directly access ssh.  If you haven't yet connected to that host with PuTTY, the connection will probably fail.

Example first Github clone


PuTTY => New Session

  Hostname: github.com
  Click [Open]

You'll get a message from Pageant, do you want to save this key?  Click [Yes]

Now you should be good to go,  you can close the PuTTY window, and go back into MinTTY and try to git clone.

$ git clone git@github.com:joyent/node
Cloning into 'node'...

Obviously you should clone a repository to which you have access.  Everything should work.

Monday, September 15, 2014

Strawberry Perl on MinGW-W64 + MSYS

Strawberry Perl on MinGW-W64 + MSYS

Following up to my bare bones MinGW-W64 + MSYS install, I've found it to be convenient to install a version of Perl that you can actually keep updated easily.  The Perl version that comes with MSYS is really old.

Install Strawberry Perl

I'm using Strawberry Perl from http://strawberryperl.com

Download and install it.  I installed to C:\perl

Modify $PATH via ~/.bashrc

Add the following code to your ~/.bashrc assuming you installed to C:\perl

# Force Strawberry Perl to the front of the path
if [ -x /c/perl/perl/bin/perl.exe ]; then
export PATH="/c/perl/perl/bin:$PATH"
fi


Exit your shell and start a new shell.

Make sure it worked

ross@win$ which perl
/c/perl/perl/bin/perl.exe

Success!  Enjoy your modern Perl.